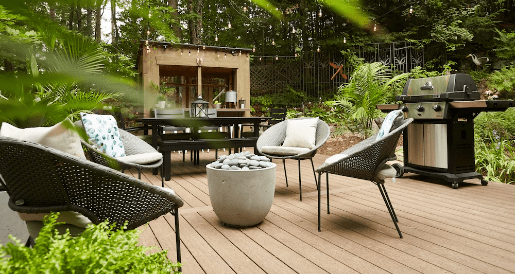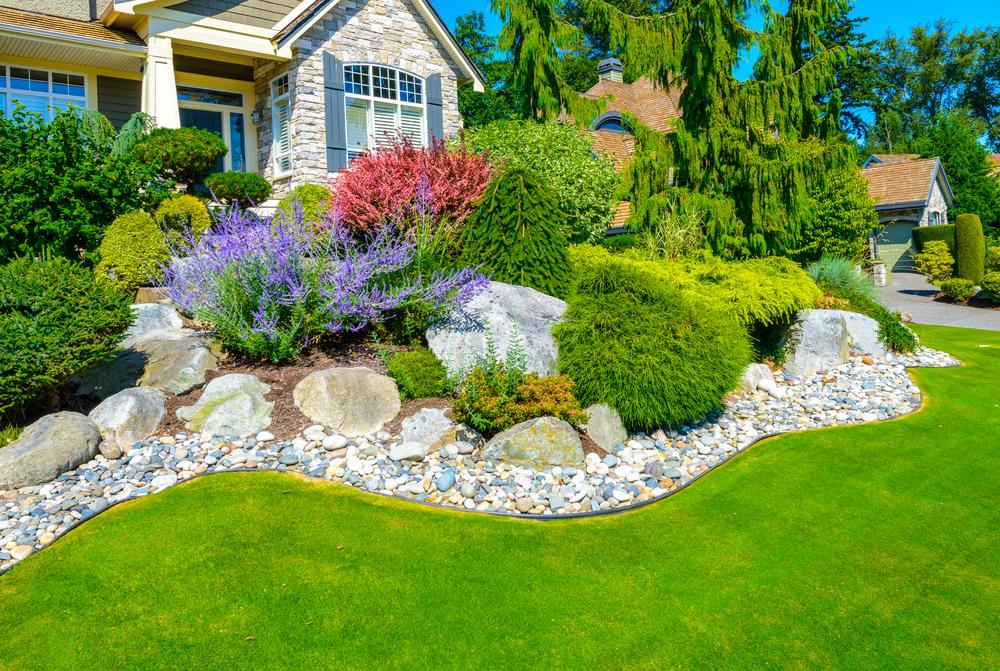
A lush, green lawn can definitely increase your home’s curb appeal while also offering a perfect spot for your children and pets to play. However, real grass also requires lots of continual maintenance and tons of water to keep it looking good—especially in a dry, desert climate like Las Vegas. This makes artificial grass a great option as it will provide the same look and feel as real grass without any drawbacks. Turf is also reasonably easy to install. Here is a complete overview of how artificial grass installation is done and whether it is better to have it done by a professional or go the DIY route.
Professional Turf Installation vs. DIY
Hiring a professional landscape company to install your artificial turf is obviously easier and guaranteed to provide a good result. The only issue is that professional installation can also be quite expensive and will often cost upwards of $15 to $20 per square foot. This is why many people opt to install their turf themselves, as it can easily cut the installation cost in half.
The turf itself will typically cost somewhere around $2 to $4 per square foot, and you’ll usually only need to pay a few dollars more per square foot for all the other materials you’ll need. Installing turf on your own isn’t that difficult and can provide equally good results as a professional as long as you pay attention and know what you’re doing. To make this easier, here is everything you need to know to install your own turf in Las Vegas.
Materials Required
If you opt for DIY turf installation, here are all the materials you’ll need:
- White chat
- Infill material
- Landscaping fabric
- Turf
- Spiral landscape nails
- Turf seam tape
- Box cutter or utility knife
- Rake
- Power broom
- Drop spreader
Step 1: Preparing Your Yard
If your yard has existing grass, pavers, or other landscape elements, you will need to remove this first so that you can prep the ground for your turf. For yards with underground irrigation or sprinkler systems, you will also need to cap each head, so you don’t damage or clog them with dirt when preparing the ground. You could also dig up the irrigation system since your turf won’t need to be watered.
After removing the old landscape materials, you will want to dig the entire area down to around three inches below what you want the finished level of the turf to be. You’ll also want to try to level the area as well as you can. It doesn’t need to be 100% level at this point, but you still don’t want any big humps.
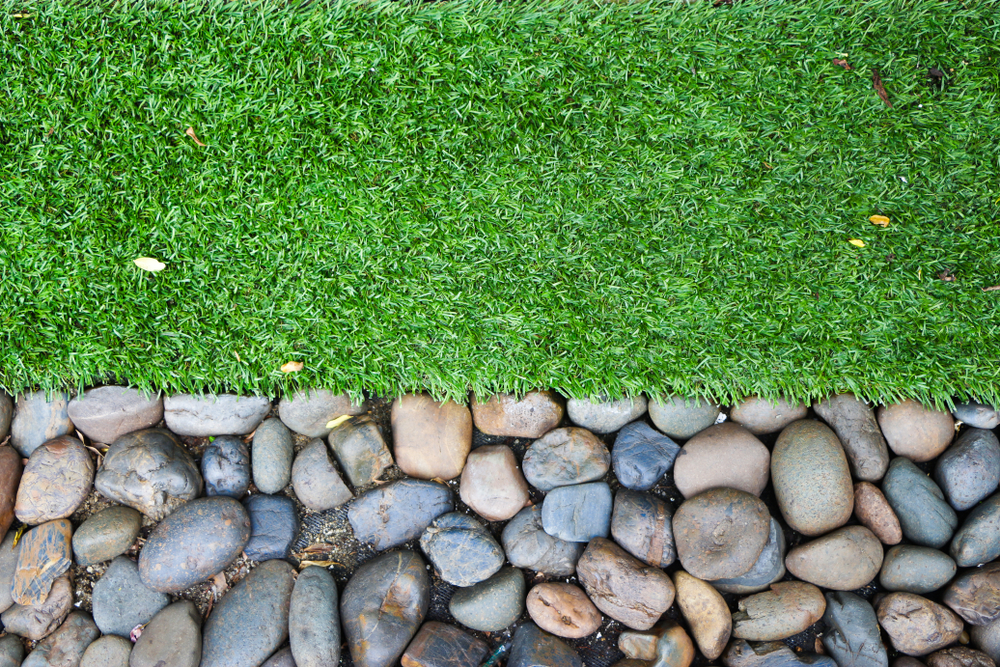
Once the ground is prepared and mostly level, you will then want to cover the entire area in landscape fabric to prevent weed growth and then cover the fabric with approximately two inches of white chat. When spreading the white chat, you’ll want to ensure the area has a gradual slope to help drainage. Which direction it slopes is mostly up to you, but you definitely don’t want it to slope back toward your house.
Finally, you will want to dampen the white coat with your hose slightly and then compact it using a lawn roller or vibrating compactor, and then check again that the area is level and doesn’t have any high or low spots.
Step 2: Installing the Turf
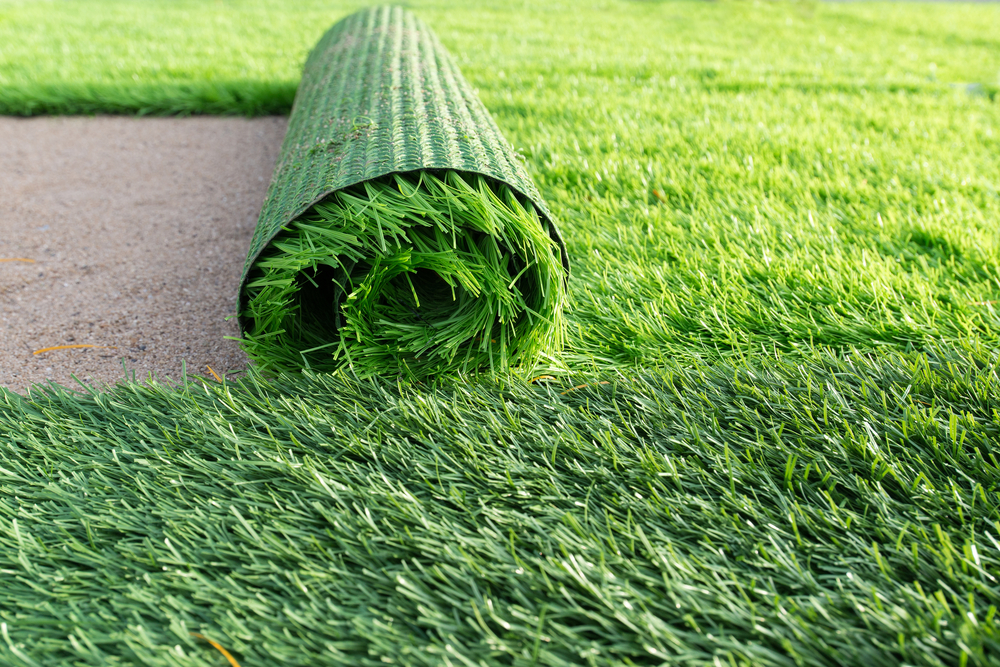
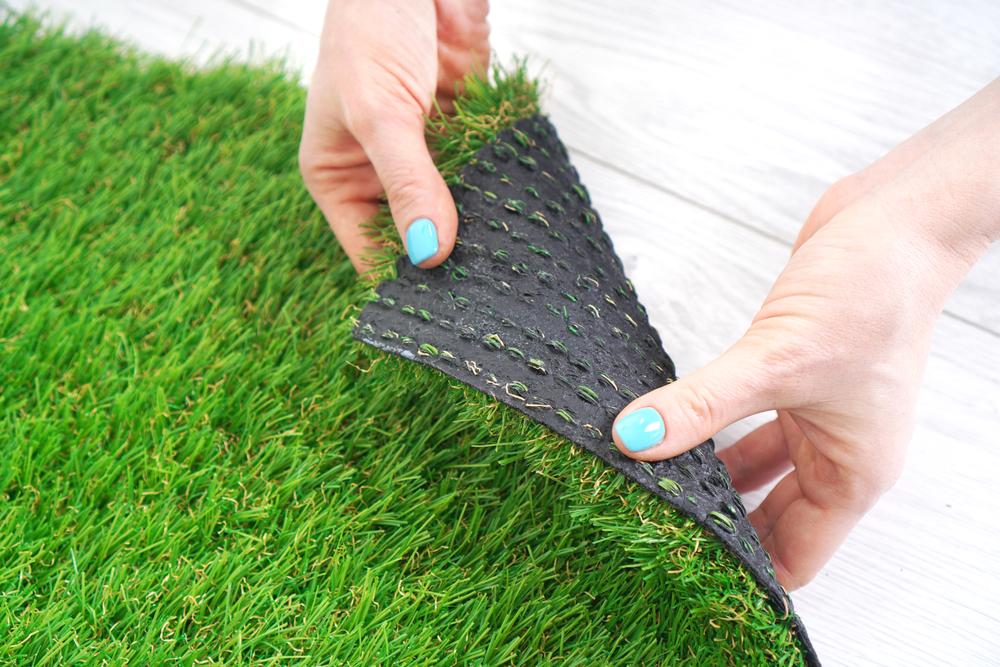
Once the ground is prepared, you’ll want to spread all of your rolls of turf out and let them sit in the sun for an hour or two as this will help to flatten it and make it easier to work with. You’ll then want to lay out each row of turf, making sure that the edges of each row are tight together and using your utility knife to cut each piece for length. You may also need to cut the last row for width. When cutting, make sure to always cut on the backside, so you don’t damage the grass blades.
You’ll now need to seam all of the individual pieces together. This is done by flipping the turf over and placing the seam tape so that half of it is on the first piece and then placing the next piece down onto where the tape overhangs. When joining each piece, ensure that the grain always runs in the same direction and that each piece fits tightly together with no gaps.
Once the turf is seamed, you can then start to secure it with your landscape nails. Start at one end and use nails every three to four inches to secure it in place, then do the same along the entire perimeter of the piece. You will also want to secure the middle of each piece by driving additional nails in every one to two feet.
Step 3: Infilling
Before spreading the infill material, you will first want to power broom the entire area, making it easier for the infill to settle into the turf properly. After spreading the infill with the ground spreader, you should use a broom or rake to ensure it is as even as possible. Finally, use your power broom one last time to ensure that the infill settles all the way down into the turf.
As you can see, installing turf on your own is relatively easy. Still, whether you choose professional or DIY installation, Parsons Rocks is your best choice for artificial grass in Las Vegas.