Use These Steps When Building a Dry Stack Rock Wall
Building a dry stack rock wall for your yard can be easier when you have the correct steps to follow. Adding this piece of architecture to your landscaping can create an aesthetically appealing section that looks great.
Step 1 – Building a Dry Stack Rock Wall
The first step in building a dry stack rock wall for your landscaping is to choose an ideal location. Once you find the area you like, take some spray paint and make the shape of the wall on the ground by spraying just enough color to know where you want your stones or boulders placed.
Step 2- Edging Your Dry Stack Rock Wall
Edging around the line you have painted with a shovel can help make sure you have the correct area marked. Once this has been completed, dig out some dirt to create a base where the rocks can sit. Make it deep enough to fit about half of the width of the stones you are using. It can help to utilize a level so that you have an even base where you can stick additional boulders.
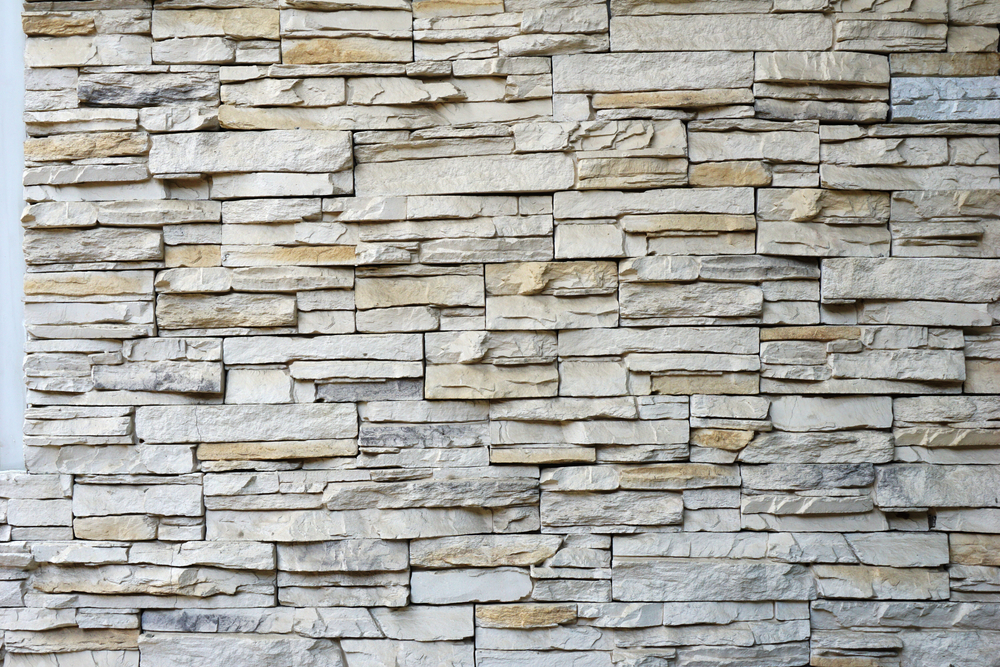
Step 3 – Selecting Rocks for the Base
Choose landscape rocks in Las Vegas from a professional company and use them for this initial layer. You’ll want to choose ones slightly larger than the rocks being placed on top of them. If you need to level any areas, you can use smaller rocks and wedge them into the spaces where they are required. Utilize a level to make sure your wall is even.
Step 4 – Laying the Next Row of Rocks
Pick out several rocks that you want to use on the first level that will sit on the base layer. It’s important to overlap the butt joints on a layer of rocks below as this will help increase the structural integrity of your dry stack rock wall.
Step 5 – Backfilling With Soil
After completing the first layer for your rock wall, you’ll need to backfill it with soil. You should be able to do this with a shovel and then tamp the soil down tightly to help create stability for your wall.
Step 6 – Completing Each Layer
Determine the height you’d like for your rock wall and continue to add layers until you reach your objective. It’s essential to overlap the butt joints when you are adding each layer and make sure they are even and level.
Following these steps should help you create a beautiful rock wall that will add a focal point to your landscaping.